Operations CRM - Add/Remove Custom Fields for Companies
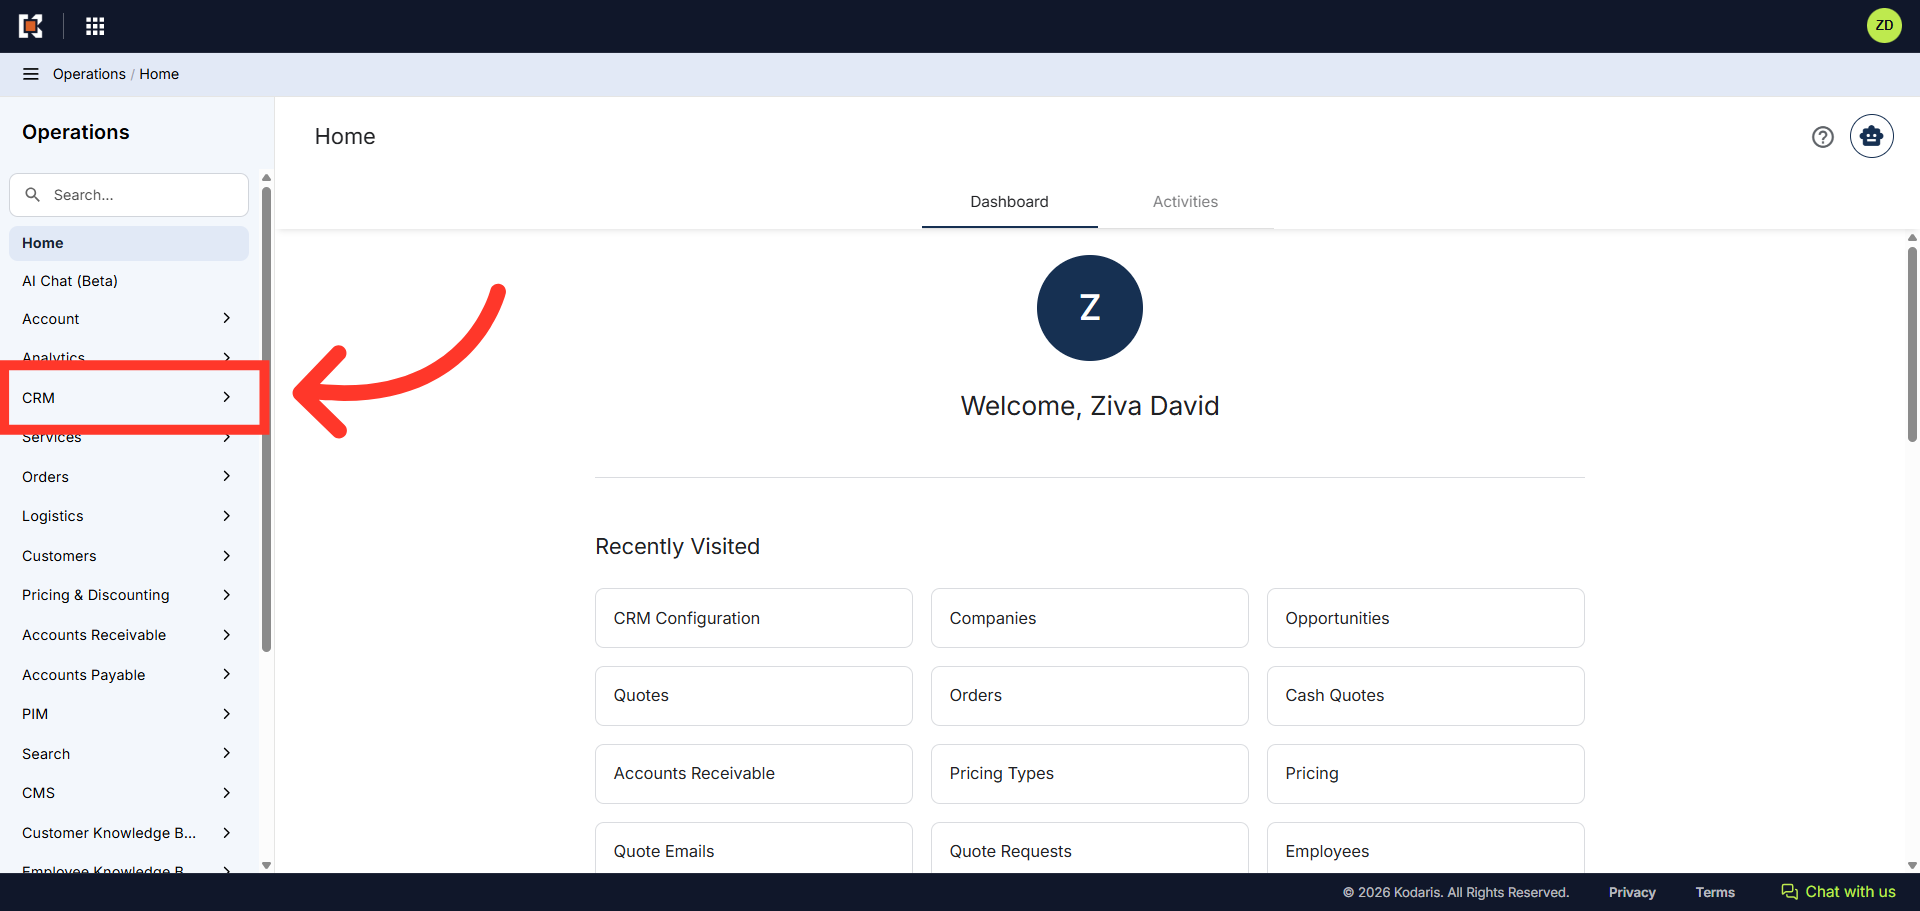
Navigate to "CRM"
CRM Company Custom Fields allow you to capture and store business-specific information that varies by customer without requiring custom development. The fields provide flexibility to extend standard CRM records with additional data points unique to your needs. To add a Company "Custom Field", first navigate to "CRM" section in the Operations Portal.
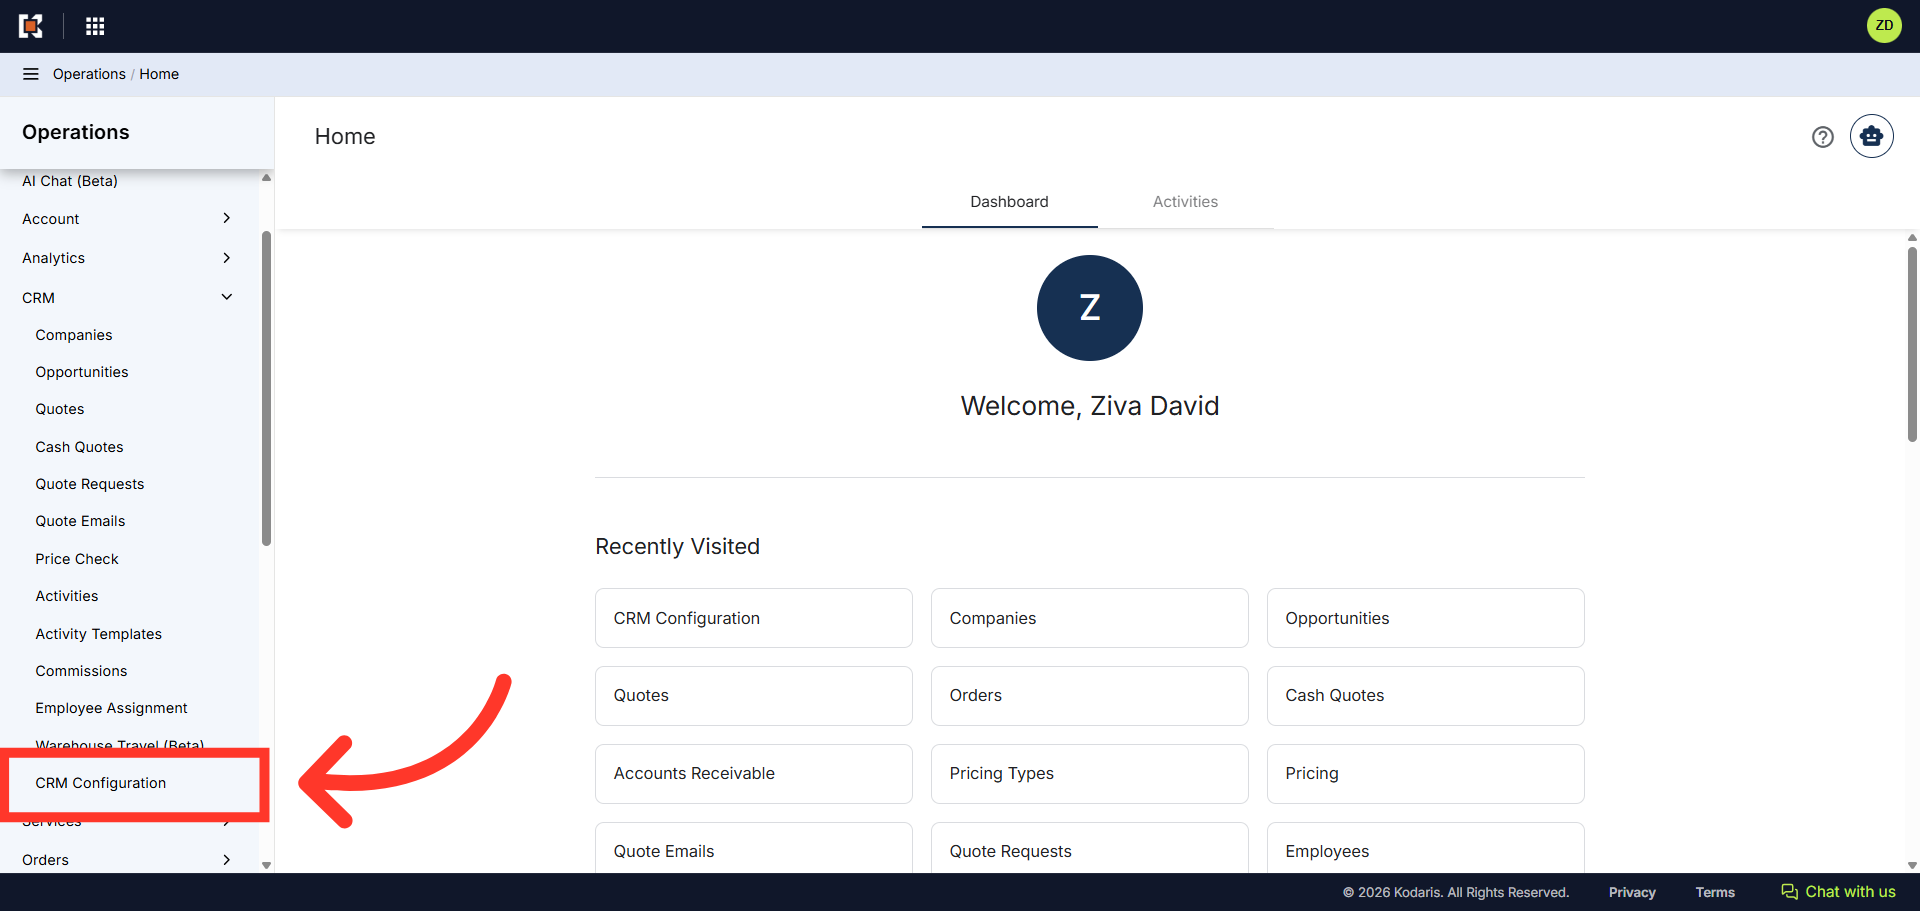
Click "CRM Configuration"
Then, click "CRM Configuration". In order to access and update "CRM Configuration" you will need to be set up as an "administrator" or "superuser" or have the role of: "SettingEdit".
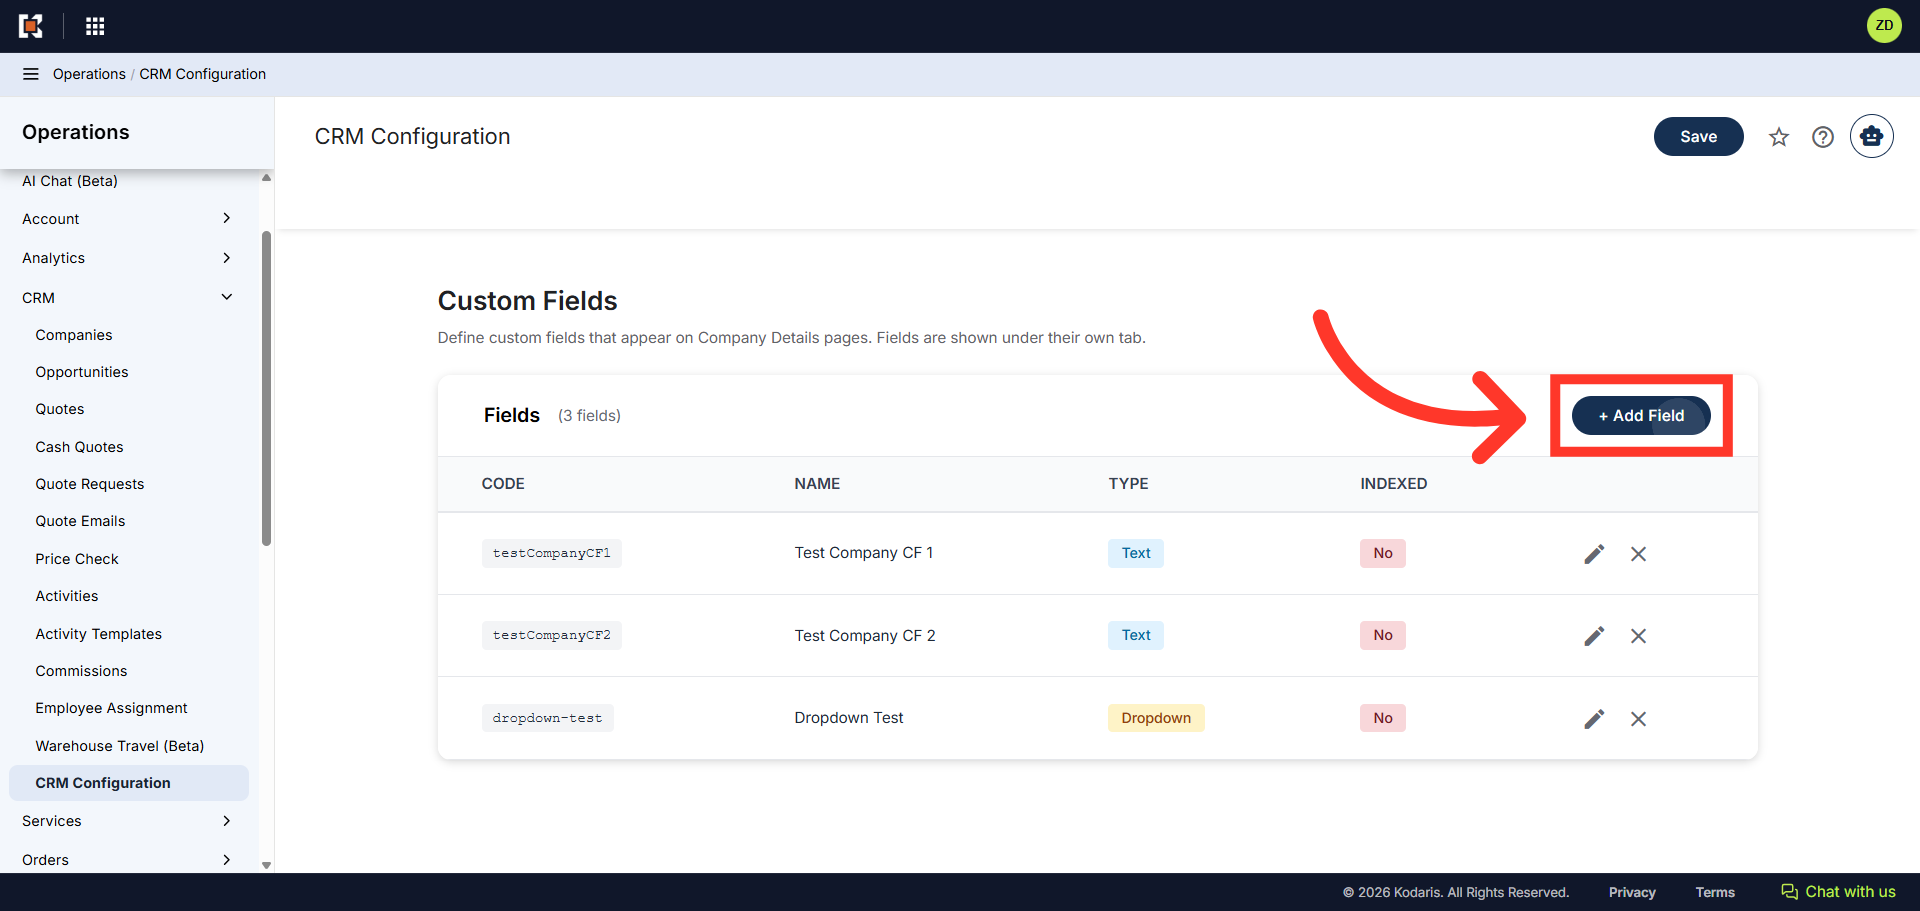
Click "Add Field"
Next, click the "Add Field" button.
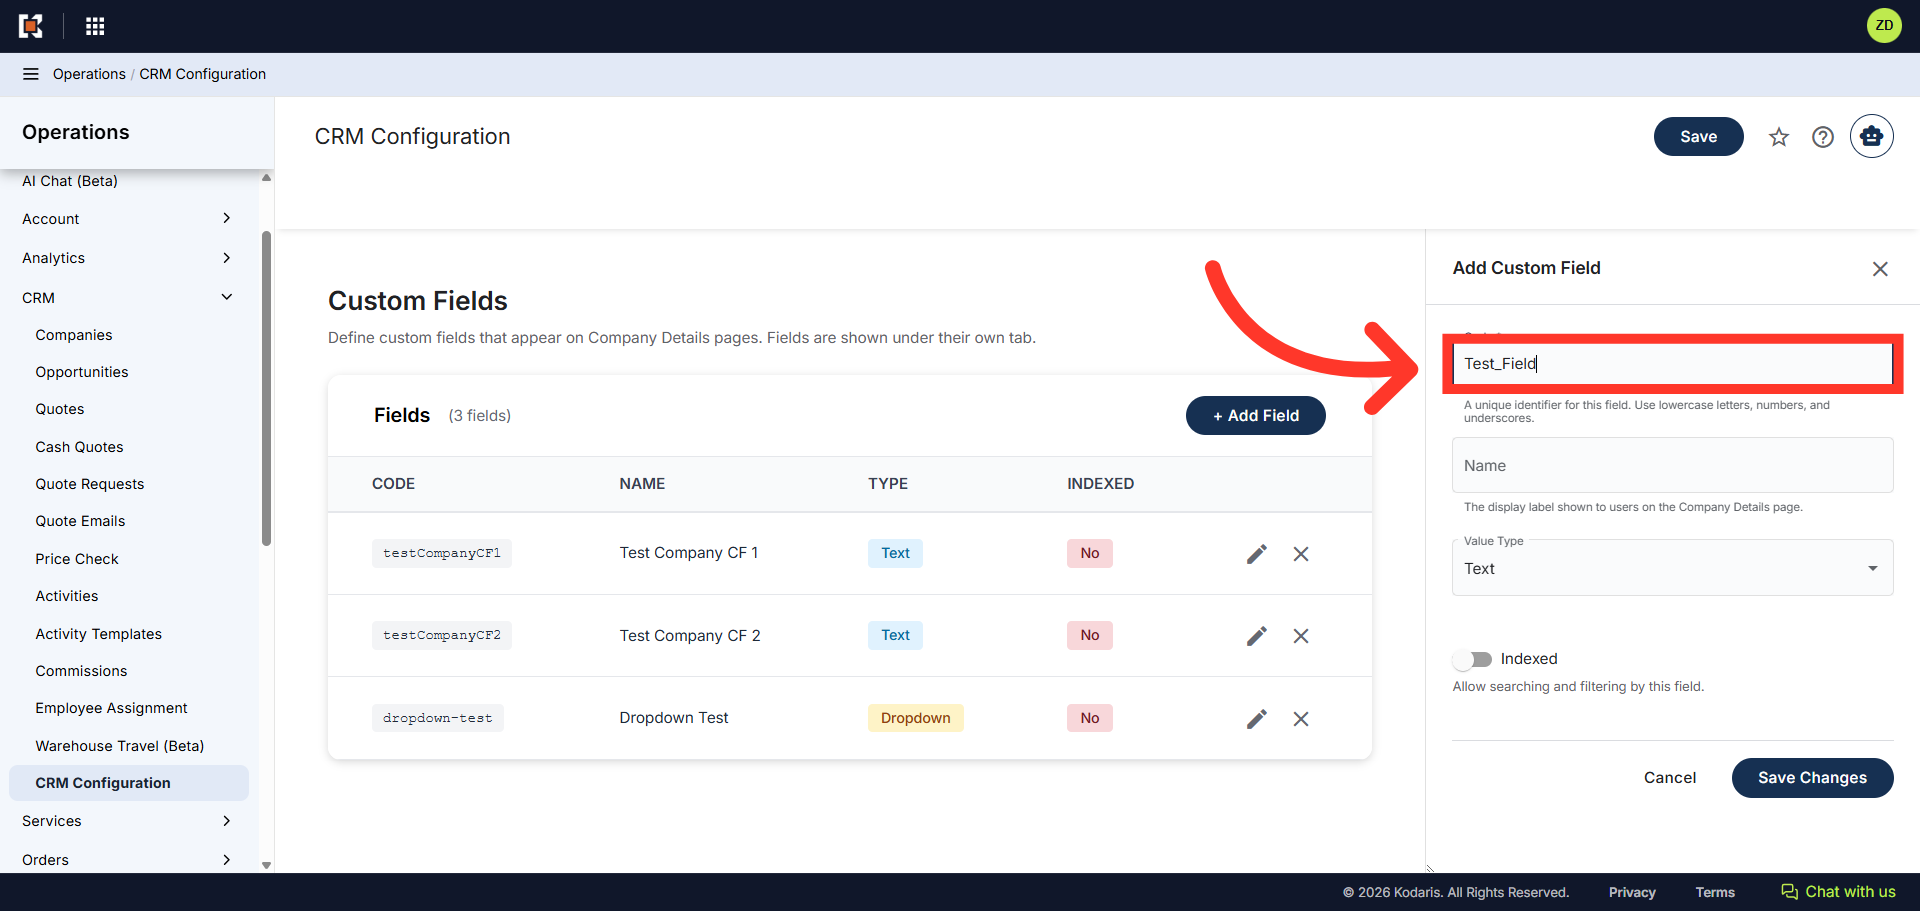
Enter a "Code"
In the "Code" field, enter a unique identifier for your custom field. Use lowercase letters, numbers, and underscores.
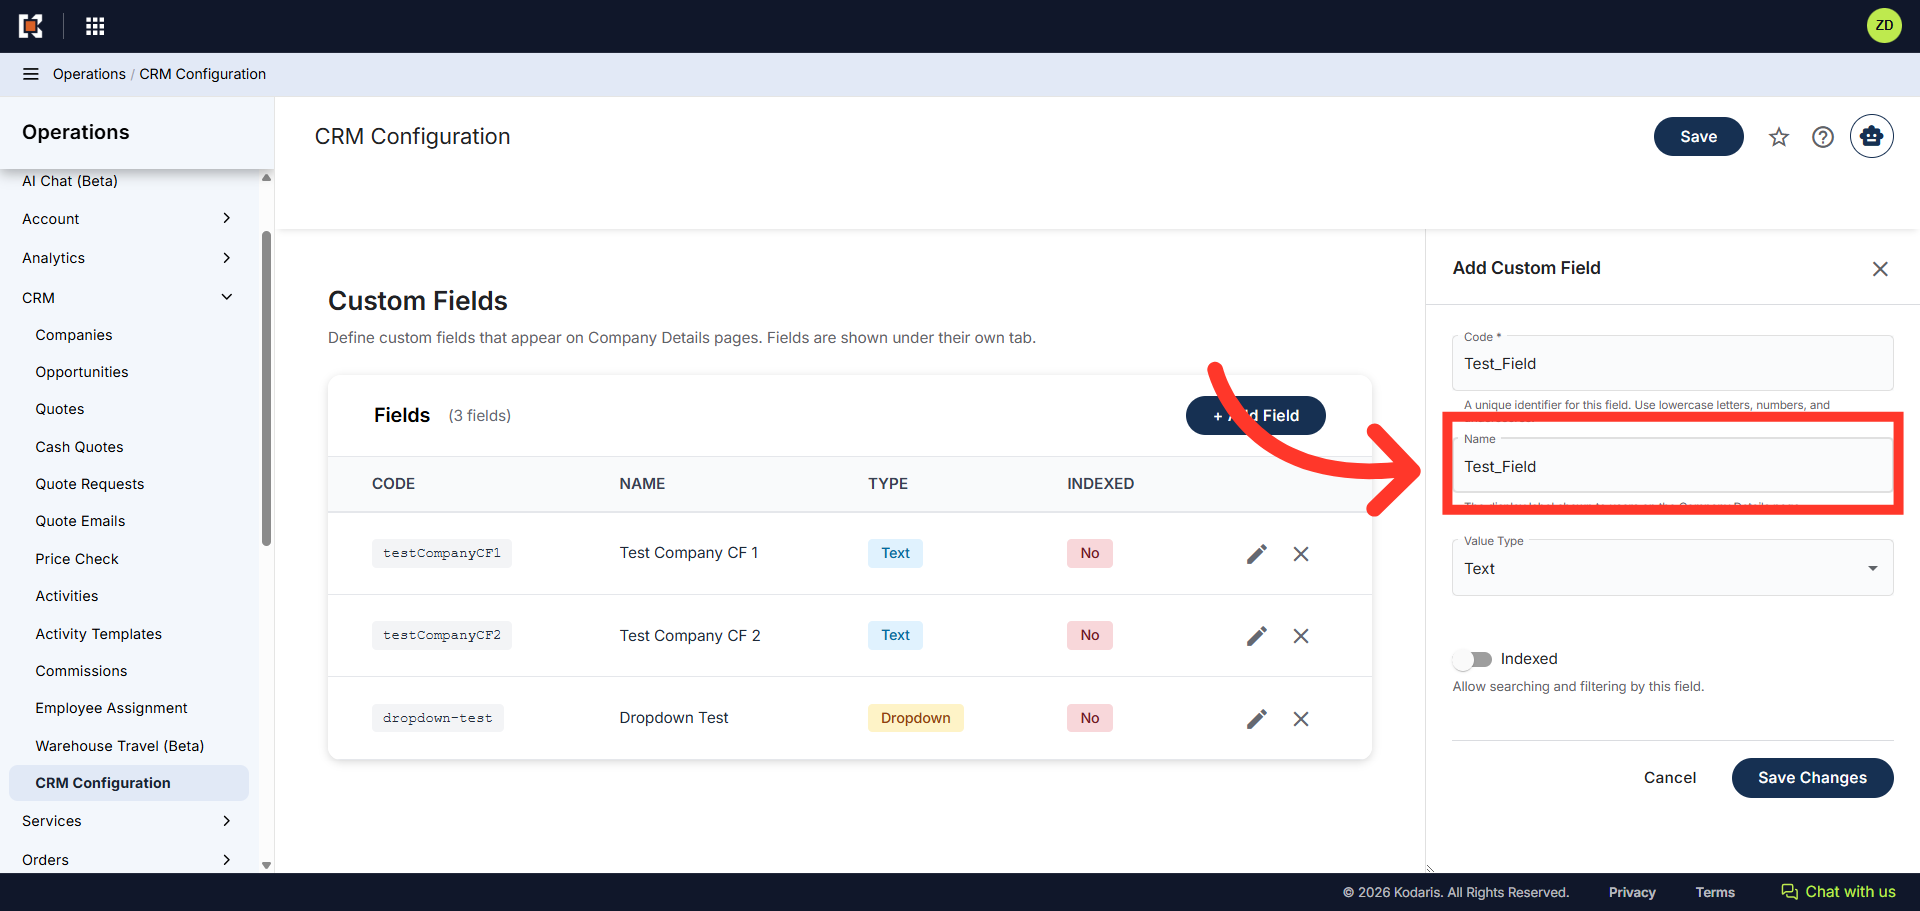
Enter a "Name"
Next, in the "Name" field, enter the name for the custom field. This is the label that is shown on the company details page.
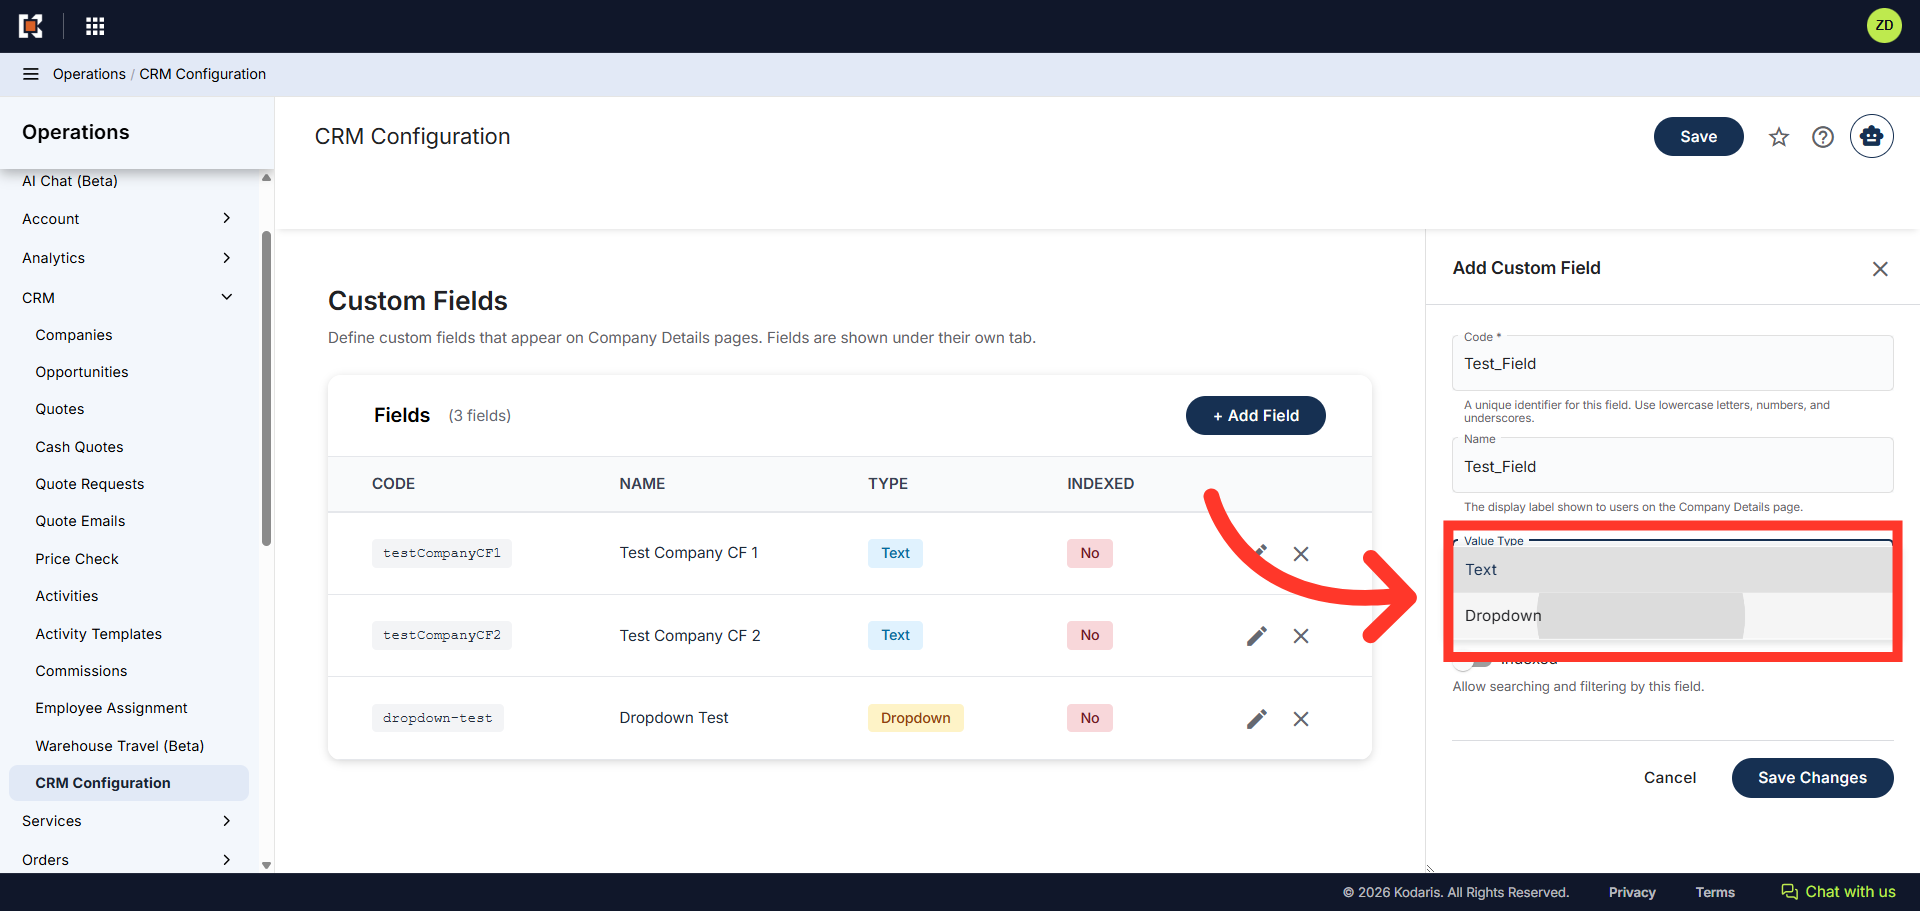
Choose a "Value Type"
In the "Value Type" field, choose "Text" if you would like the user to populate the field with text, or "Dropdown" if you would like the user to select from a dropdown list of options.
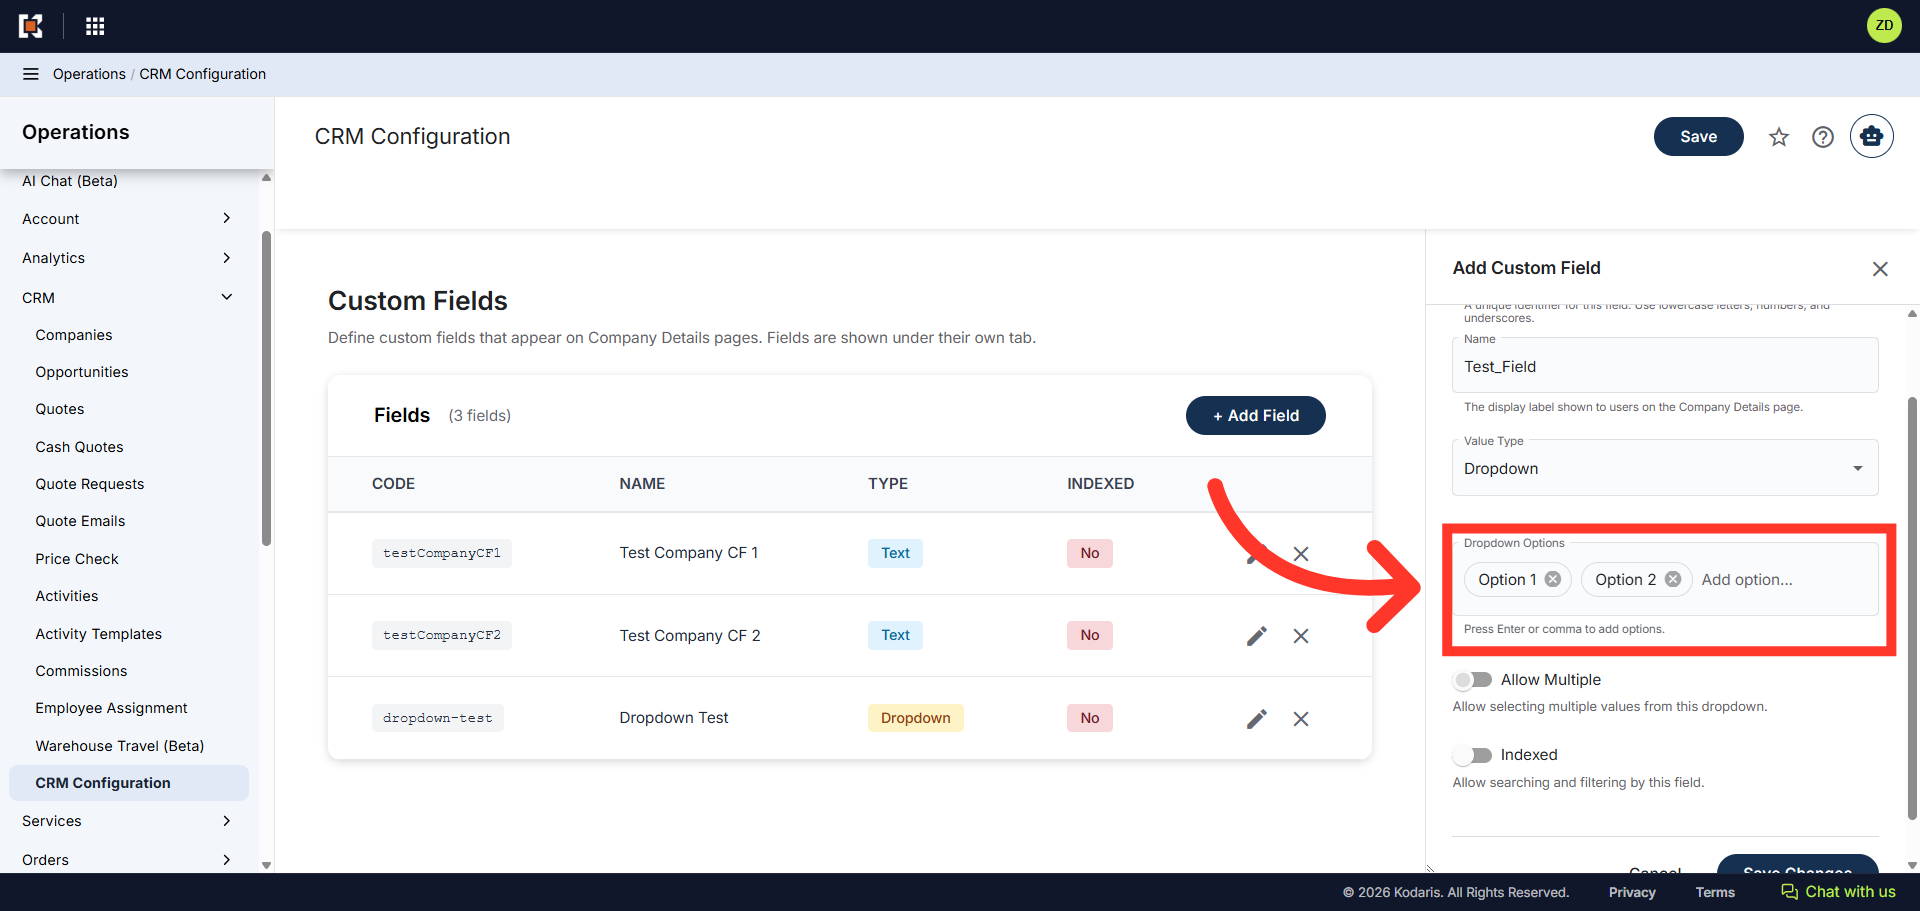
Set "Dropdown Options"
If you select "Dropdown", additional fields will appear. In the "Options" field, enter the options you would like displayed to the user. Press "Enter" or insert a comma between options when entering multiples.
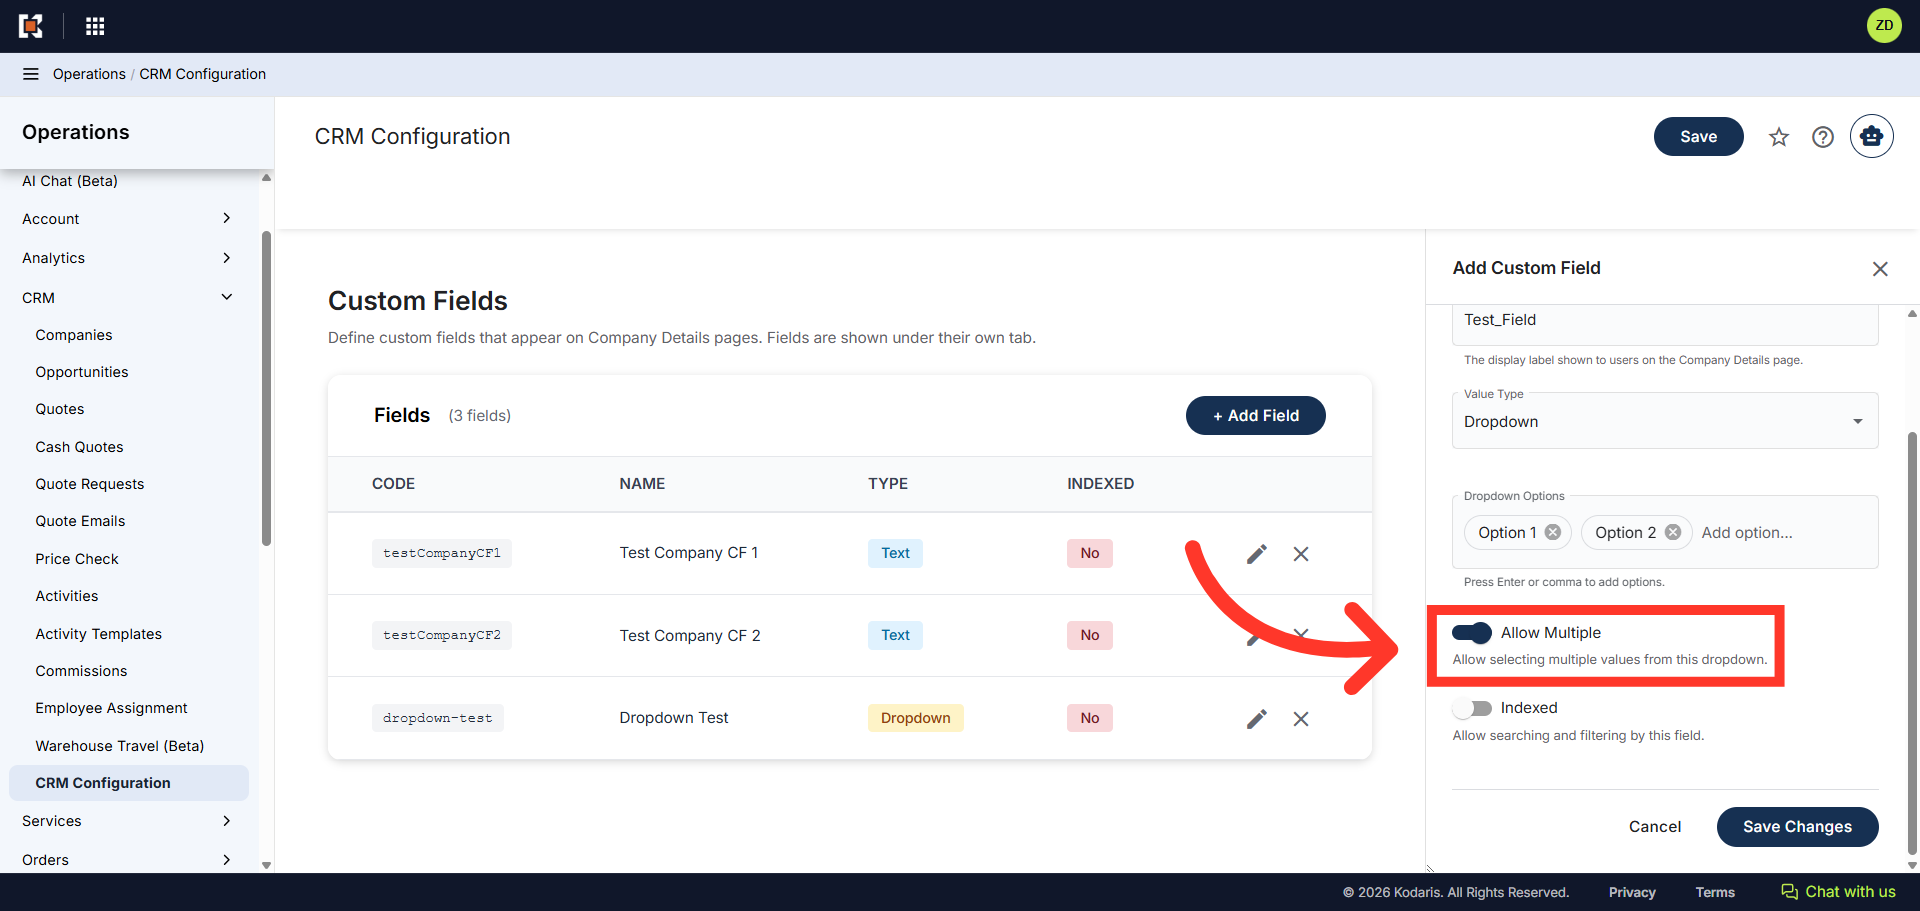
"Allow Multiple" toggle button
To allow the user to select multiple options from the dropdown list, enable the feature by clicking the "Allow Multiple" toggle button.
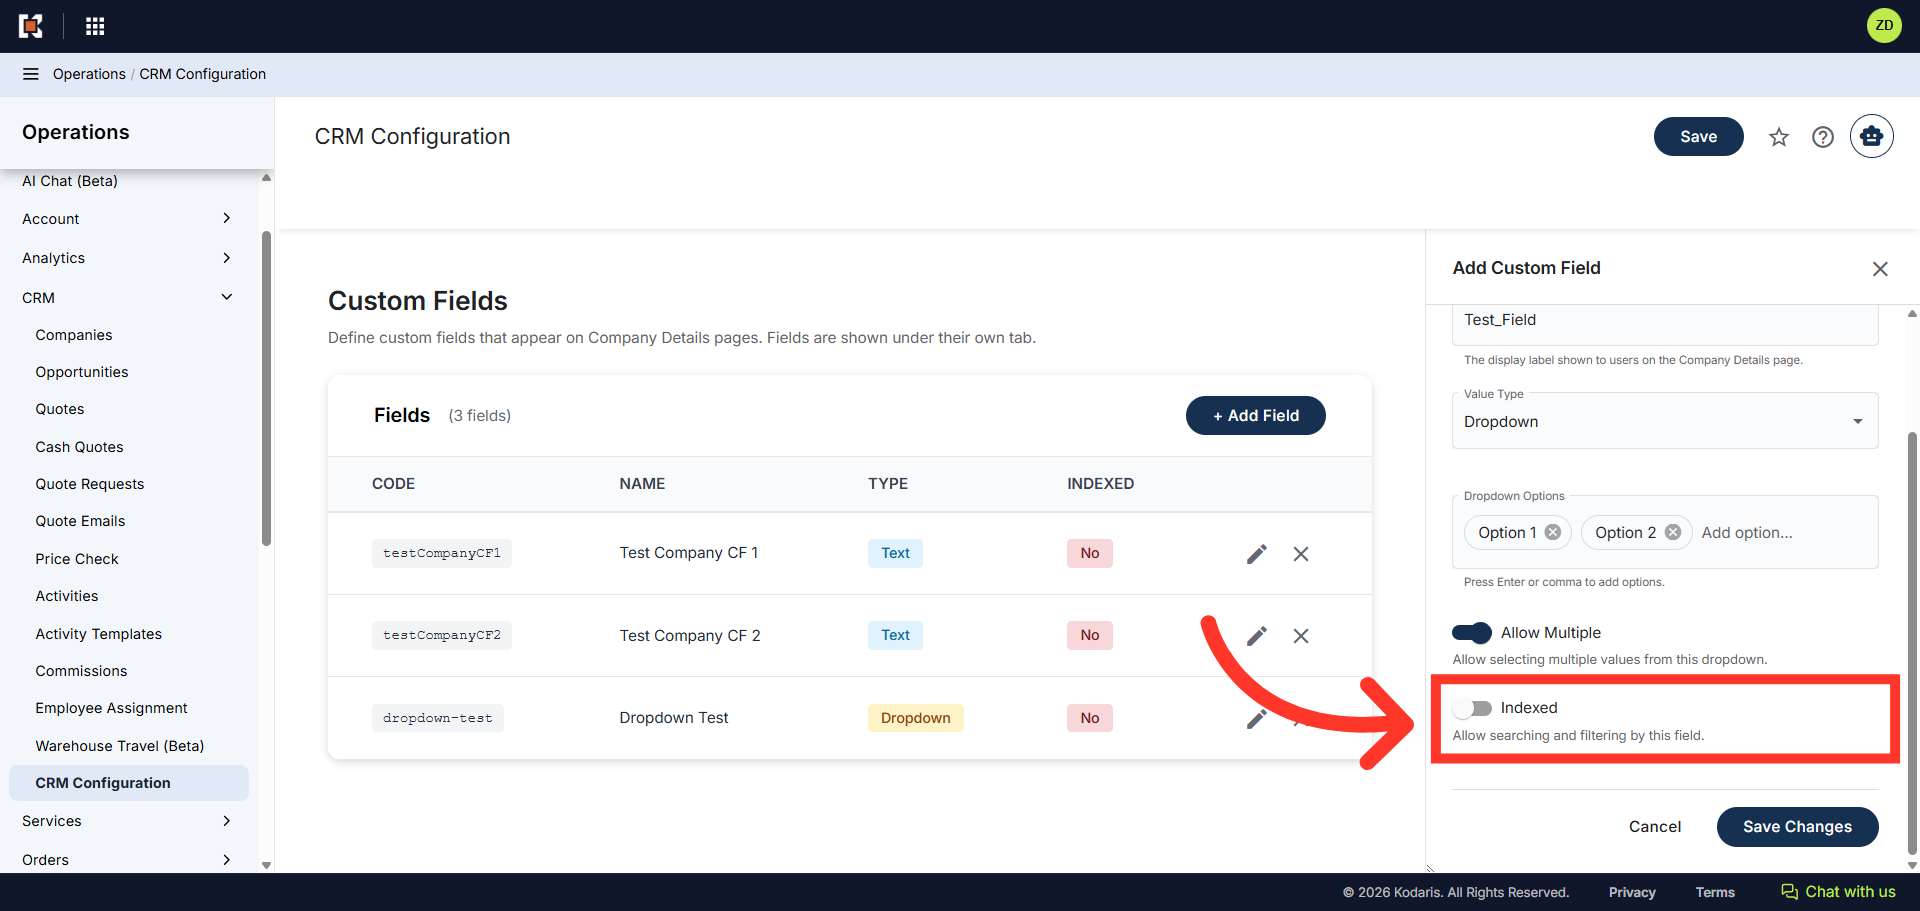
"Indexed" Option
To allow the field to be searched and filterable, you can click the "Indexed" toggle switch to enable the feature.
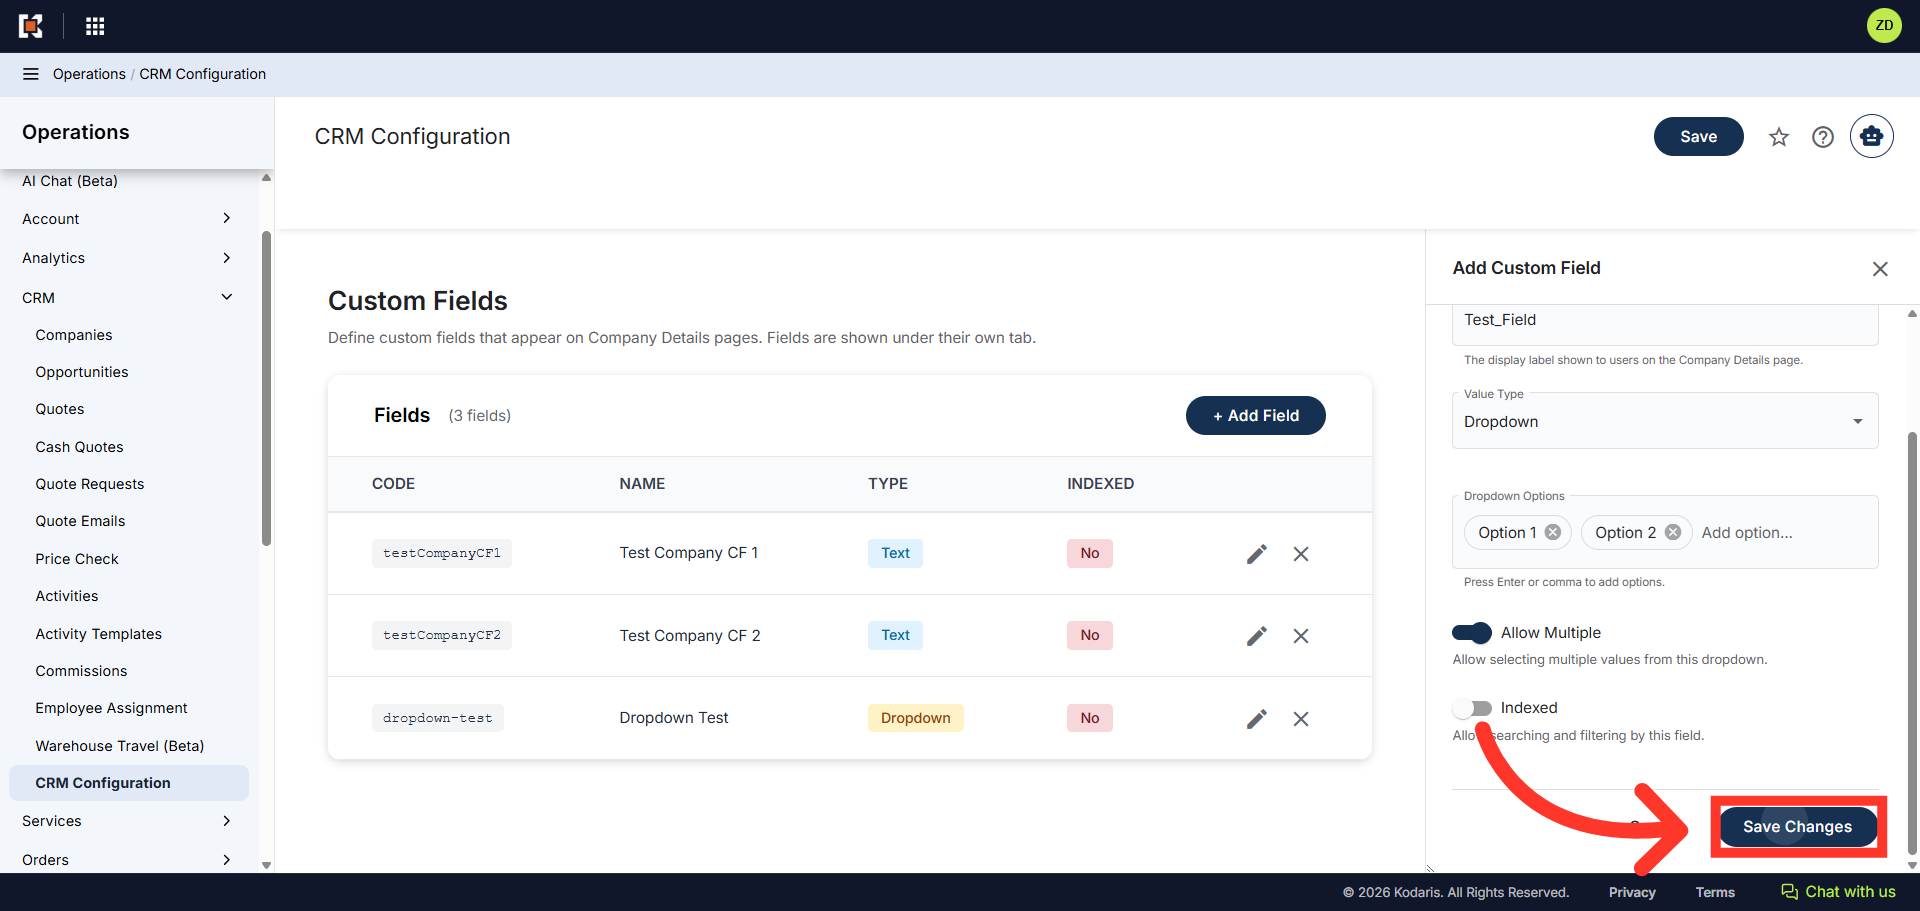
Click "Save Changes"
Next, click the "Save Changes" button to save the custom field settings.
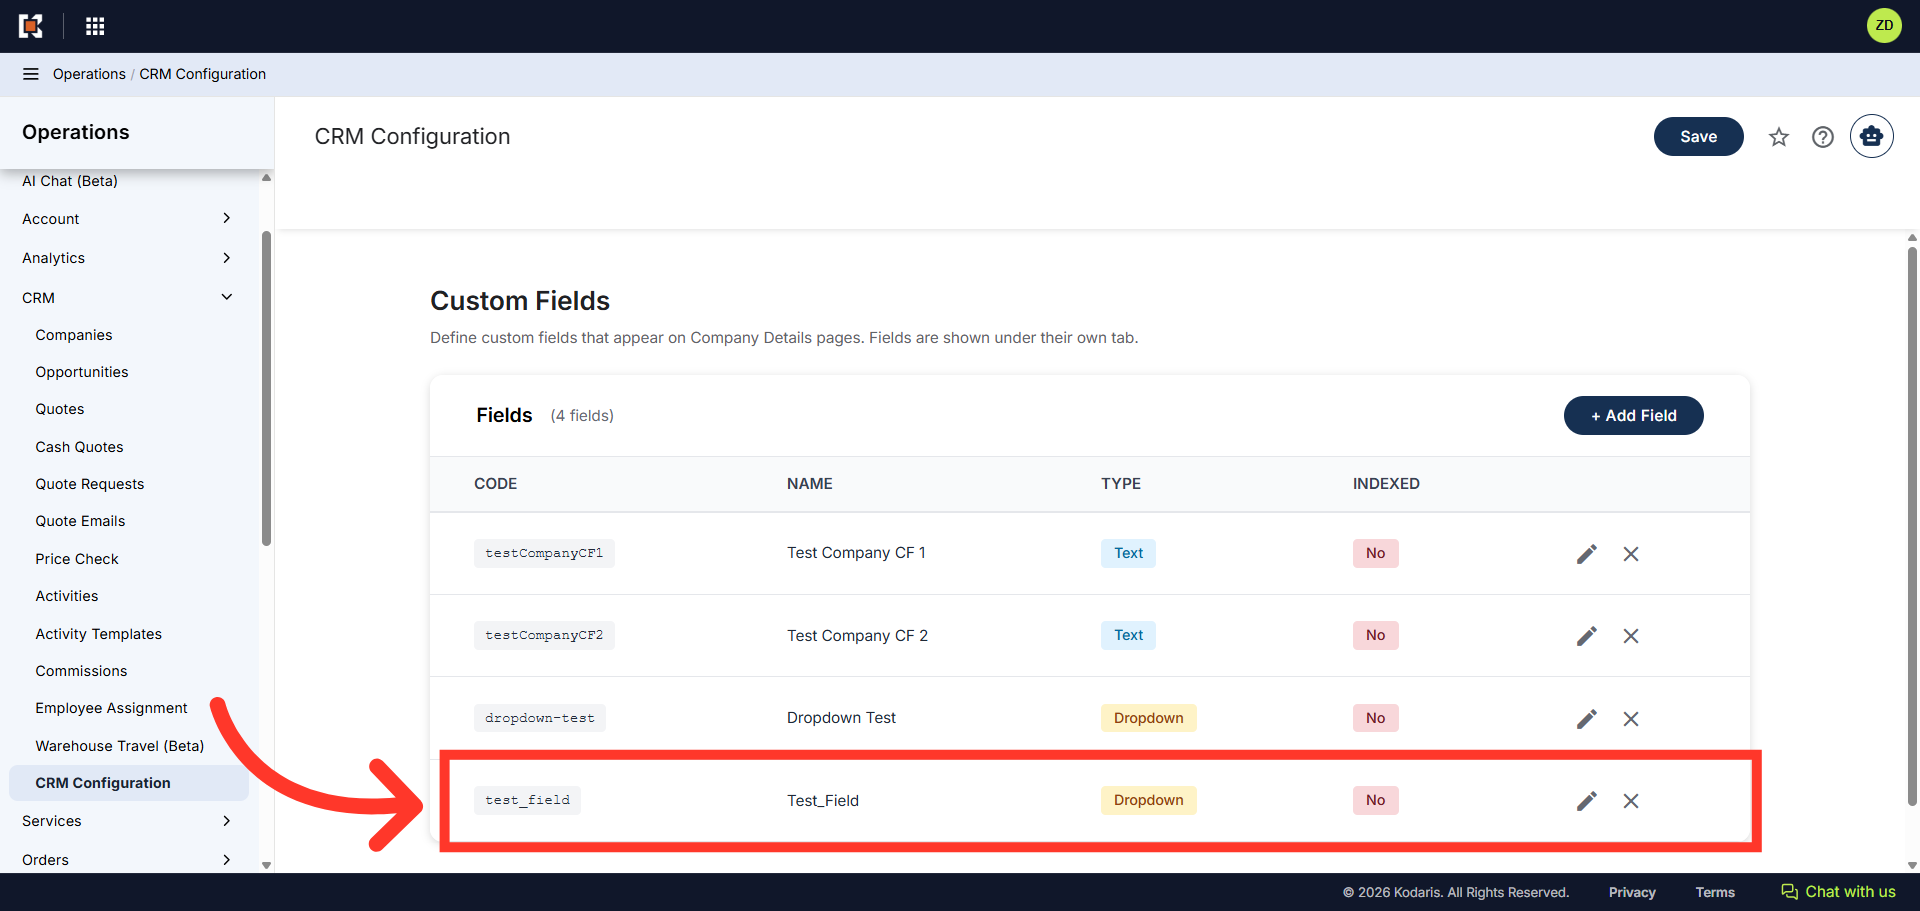
Custom field has been added to the list
The custom field has been added to the list.
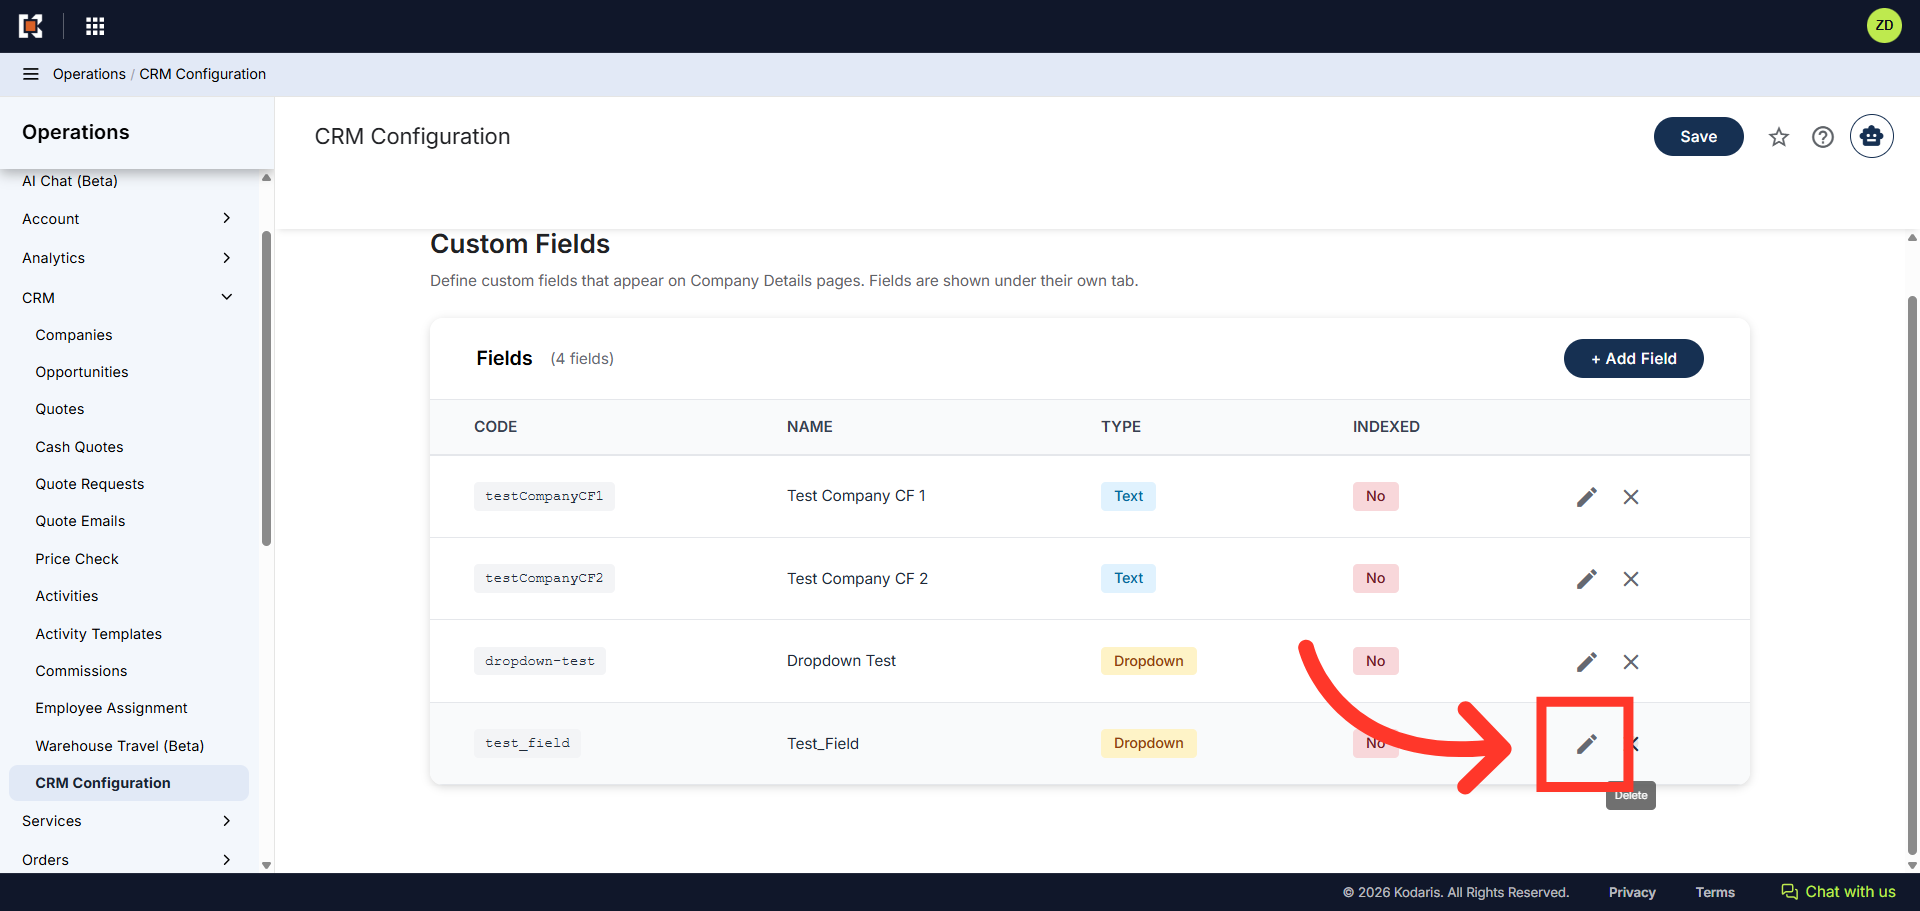
"Edit" icon
To edit a Custom Field, click the "Edit" icon.
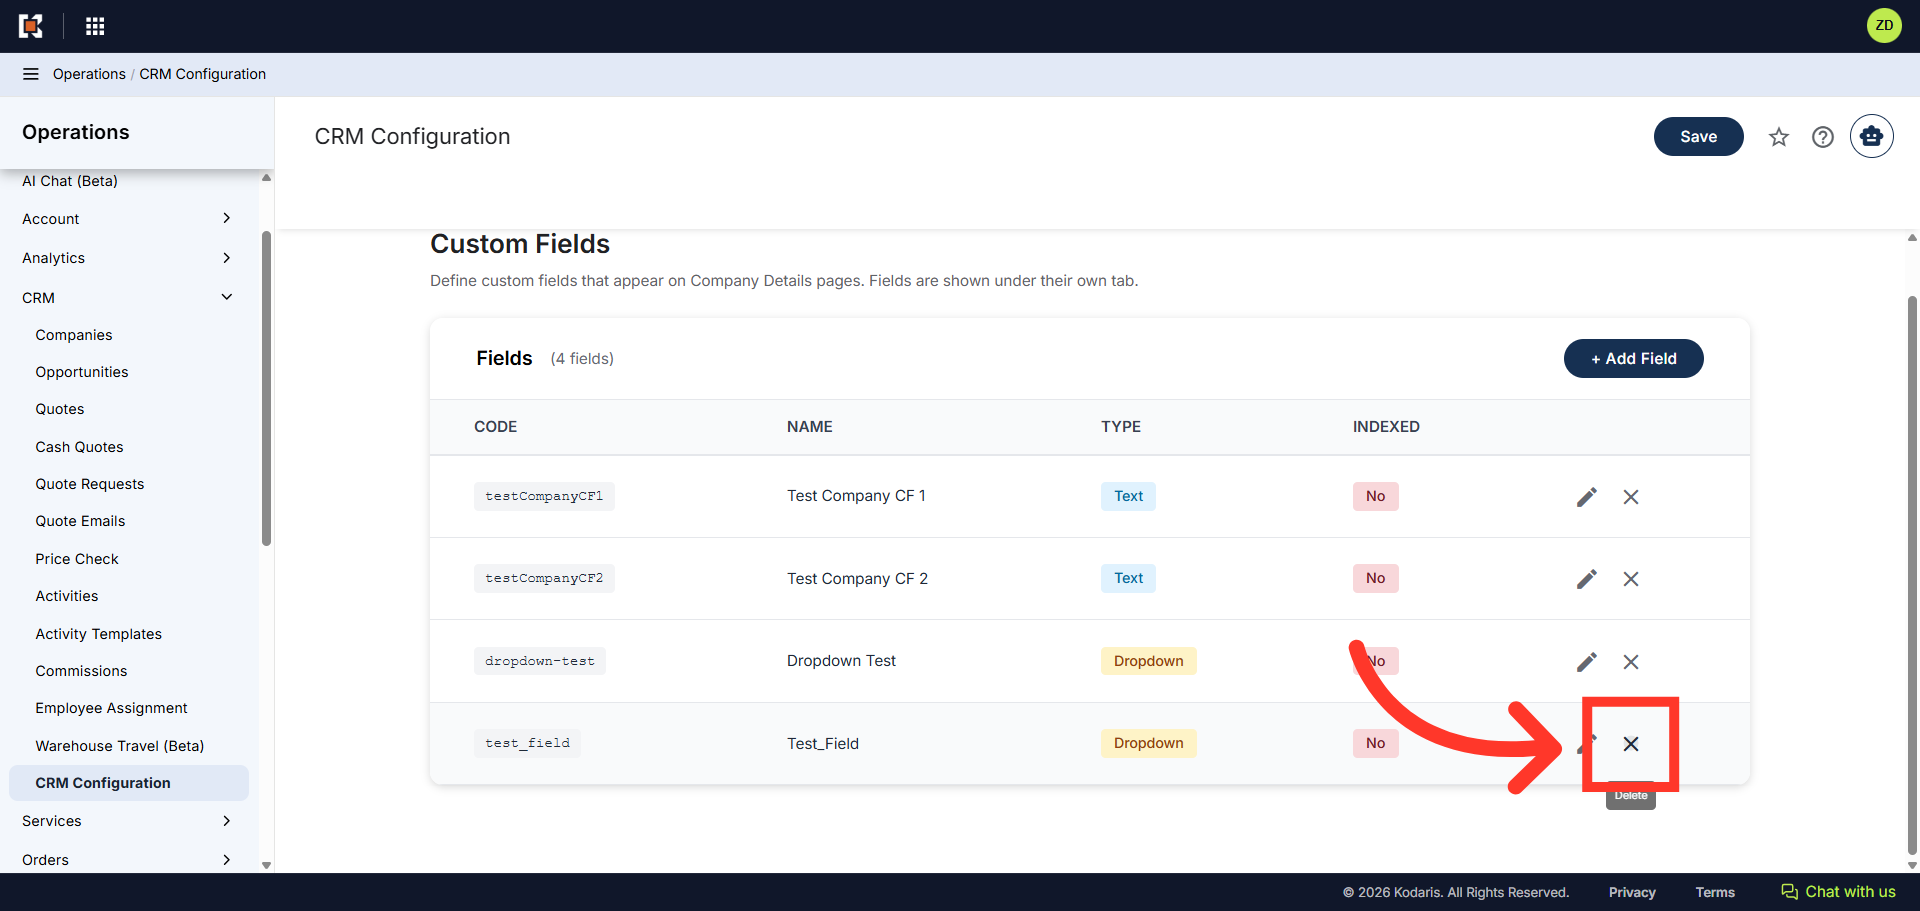
"Delete" icon
To remove a Custom Field, click the "X" icon on the custom field you want to remove.
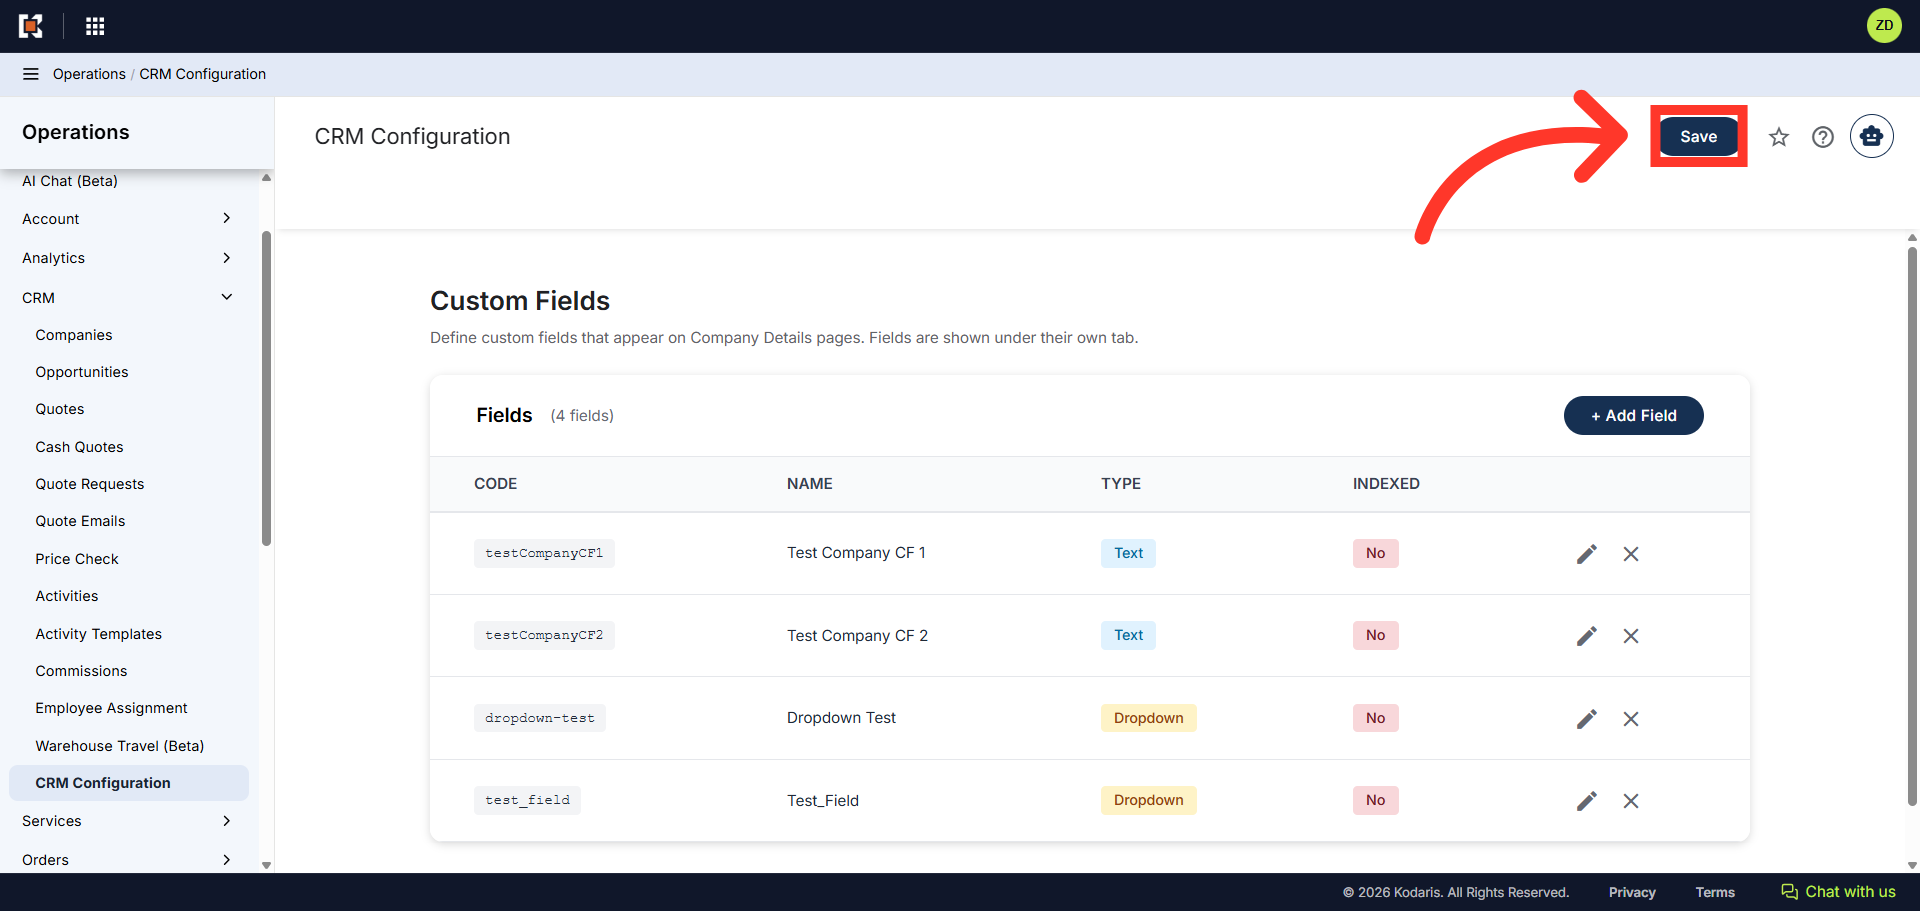
Click "Save"
Click "Save" to finalize your dropdown field configuration.
Custom Fields
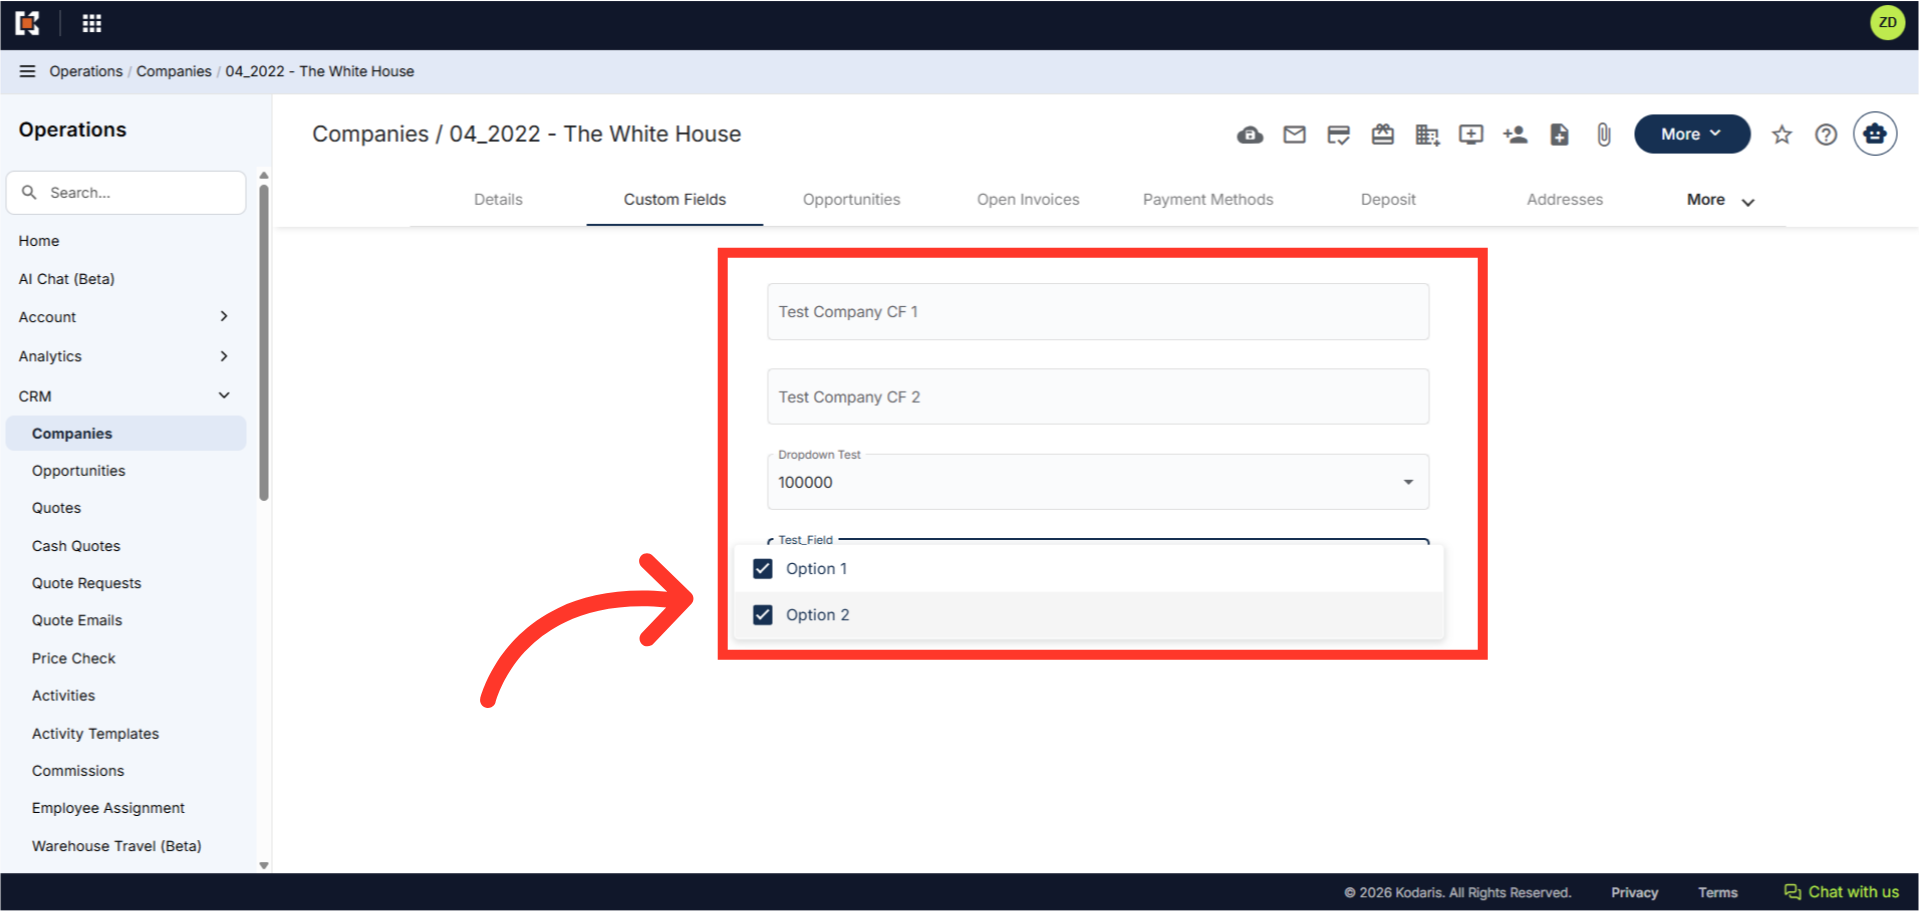
Once these are configured, they can be found on the "Custom Fields" tab on a company.